Sunday, May 13, 2012

New website, new designs and an art show


Hi all and Happy Mother's Day! It's been a busy month and I’d like to catch you up on everything I’ve been working on.
First, my new website, www.lizmmoran.com.  It's still a work in progress but it's coming along nicely.  The home page features my new work and the shop page is filled with real handpainted work.  Be sure to stop by and check it out.
Next some photos of my new art block designs.

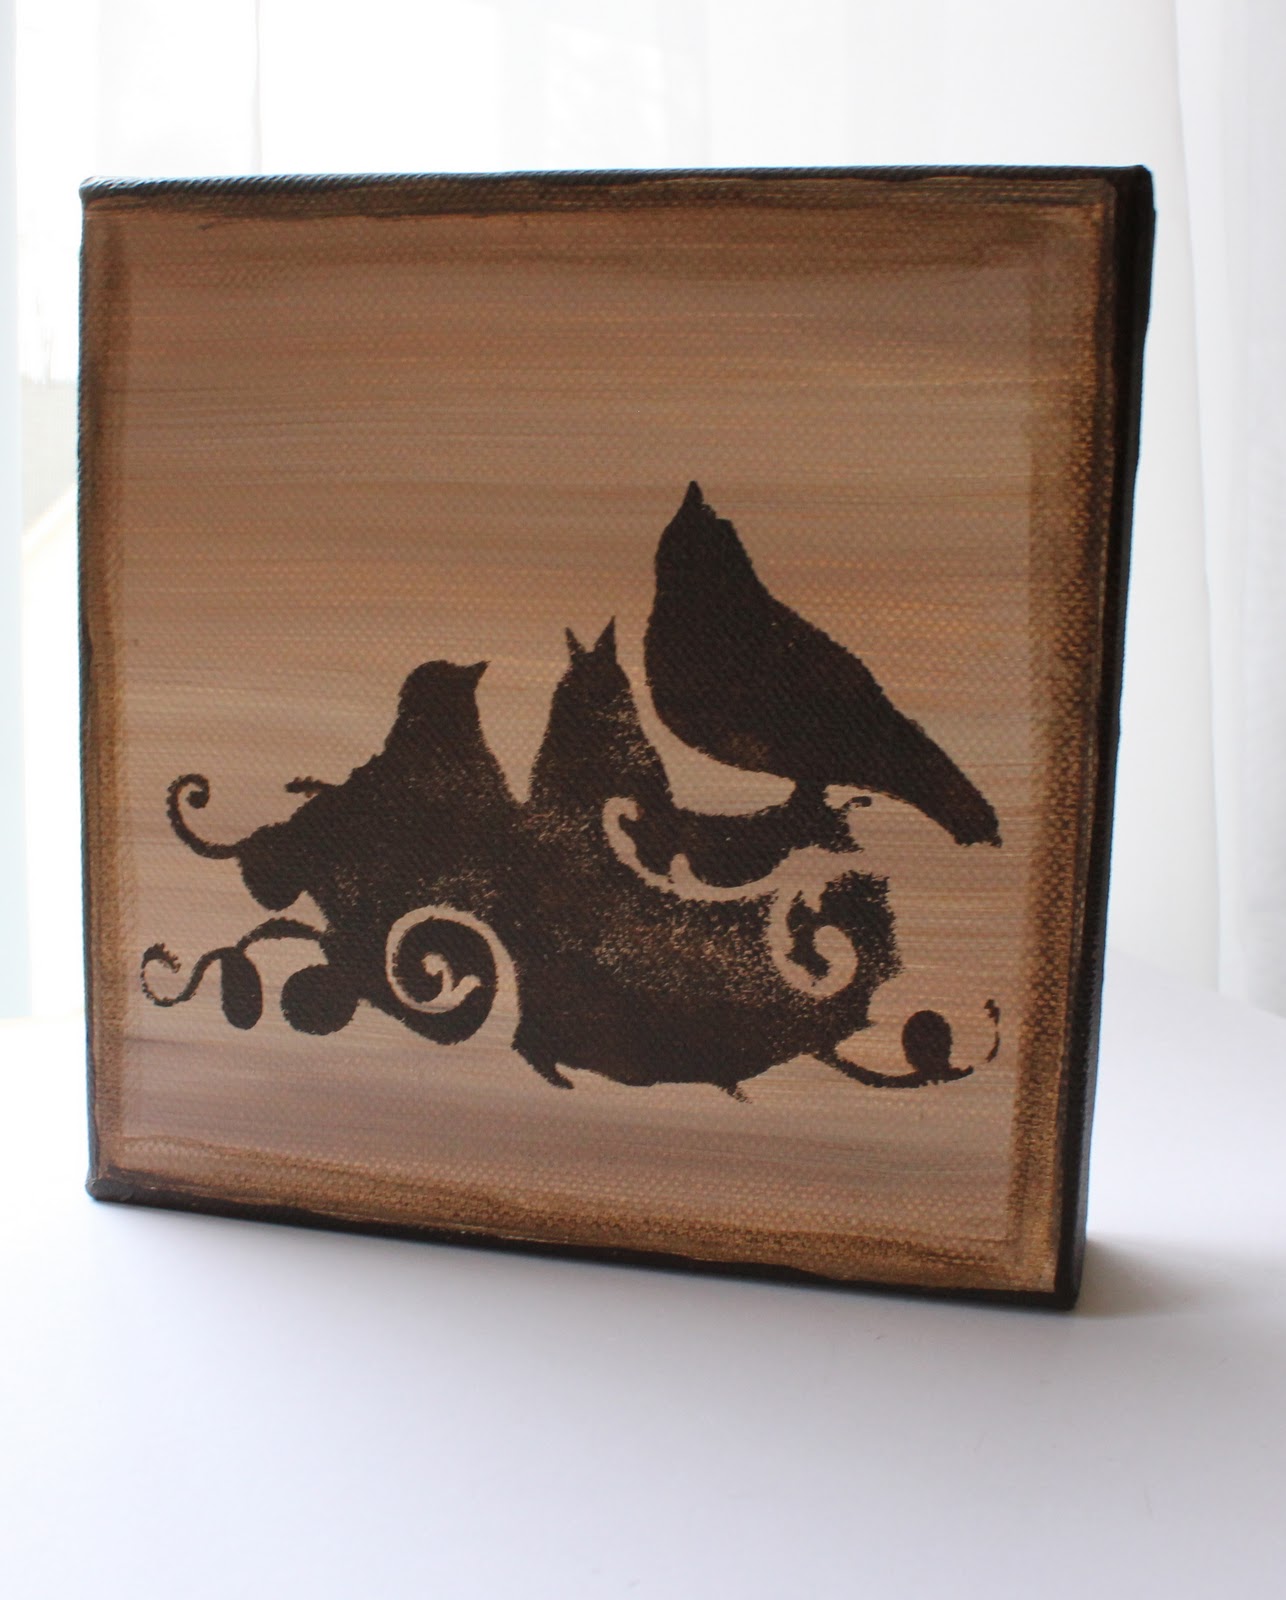
This is a set of 6 4x4 inch blocks and my favorite to date.  They are part of my new mixed media art block series. 
How they are made:
1. paint entire block (inclding sides) black 
2. paint three-four washes of desired color acrylic on face of block allowing some black to show through
3. cut your design for 65lb card stock and adhear to block
4. seal the block with mod podge for protection and a light shine.


This is another mixed media block done in a chevron pattern.

This is a shot of my set-up at the Durham Art Walk. 

My next endeavor is to set up my monthly newsletter.  Please leave your name and e-mail address in the comment box below to get on the list.
Thanks for stopping by!

Monday, March 26, 2012

Liz.Mo's Line

Hi all!  I have always loved "useable" art- pottery, clothing, jewelry etc.  Since I have this passion for handmade items you can use in someway I have decided to start my own apparel line.  I have also been a painter for 7-8 years now.  So I put the two together and now I have a hand painted apparel line!  I love the idea of being able to show off my art wherever I go (and hopefully others will too). 

Just a quick background on how I make my clothes.  I've started this line with tank tops and a few t-shirt designs.  I plan on branching out to totes and scarves if all goes well.  After I have choosen my tank and paint color I come up with a design and where excatly I'll paint it on the shirt.  Next, I make a stencil and sponge that onto the shirt with an acrylic/textile medium mixture.  Than I will go over the shirt to paint smaller details.  Finally, once dry, I heat set the design to make it machine wash safe.

Here are some of my newest designs, and any ideas/custom orders are welcome!


A slideshow of all available designs are on the homepage of my *NEW* website: www.lizmmoran.com

I will also be adding new designs to my Etsy shop over the next week: www.etsy.com/shop/lizmmoran

Don't forget only 5 days left to take advantage of my free shipping promotion here.
Use code BLOGGER at checkout and include your username in message to seller box.

Thursday, March 8, 2012

New Listings

Hey everybody, just wanted to share a few new listings with you.  I have continued to work on my art blocks as well as start on my new apparel line. 


I am offering free domestic shipping through the end of the month to all my blog members.  Use code BLOGGER at checkout and include your username in message to seller box.

Sunday, February 26, 2012

Craft Shows & Art Fairs- Checklist

Hi all!  Today I would like to share a quick craft show checklist with you.  I found the inspiration for this from one of my favorite books “The Handmade Marketplace” by Kari Chapin.  This book is an amazing resource for every artist and crafter who sells their works “locally, globally, or online”.  Highly recommended.   

If you would like me to e-mail you a copy of the original for your own tweaking let me know.

And now for my most recent projects...

Set of three 4x12 inch art blocks

Daisy pop art painting, measures 12x12 inches
Thanks!

Saturday, January 28, 2012

Valentine's Day Roses- DIY

To all my fellow cricuters I have great Valentine's Day craft for you.  In today's post I will show you how to make a stunning rose bouquet to use as a center piece or give to someone special.  Don't worry if you do not own a cricut machine!  I will be selling these in my shop this spring, both pre-made sets and DIY kits

First, you will need:
  • Cardstock- any colors you like
  • Close to my Heart Art Philosophy cartridge
  • Hot glue
  • Floral wire
  • Markers
Use the "font, shift" function to choose the rose design.  Choose whatever size you like, the smallest pink roses were cut at 3.  Once they are cut use the marker to outline the edges of the petals.  I find its easier if you outline them before taking them off the mat.


Next, tightly roll the paper starting from the outside.  I let the paper uncoil on its own to make the rose look like it has bloomed.  Glue the coiled paper to the tab left in the center of the flower. 

Now take one piece of floral wire and wrap one end around your marker.  Depending on how larger your flower is will determine how wide your loop should be.  Since the pink roses were very small I only needed a small loop.  Flatten loop to act as a stand for your rose and glue together.

Tip: you can cut floral wire at different lenghts to give your bouquet dimension.

That's all.  A nice, simple craft to add to your Valentine decor.  My bouquets featured 3 different sizes, edged in pink, dark red, and gold.  The heart votives are available at Target for $2.50 per set of 2 (I found mine in the bargain section when you first walk in). 


Happy Valentine's Day


Thursday, January 26, 2012

Craft Shows & Art Fairs- Prices and Selling

Hi all.  It is craft show season so I would like to do a small series of what to know, bring, and expect at your upcoming event.

I’ve been spending the last week designing a booth display for shows as well as deciding what to make/bring.  So far I am scheduled for two shows this spring and I can’t wait.  These will be my first in my new city.  I am also compiling a craft show checklist that I will be posting next time.  So before we jump too far ahead let’s talk about sales. 

The reason we do craft shows or art fairs is to give ourselves exposure and make money.  So what kinds of things sell at these shows?  I’ve found that small and less expensive items are more likely to move.  Smaller items because most people don’t want to carry large items around with them while browsing other booths.  I still plan on bringing original artwork (usually about 18x24 inches in size) but will offer to hold it until the customer is ready to leave. 

Price.  Most of my paintings sell for around $100.00 each.  Since most craft show dwellers don’t carry cash like that I’ve started making smaller original art priced between $10-25.00.  I also have a paper crafts business which is great for low cost items.  My paper crafts are also easy to make and will help fill my booth. 

I do have a few remedies to hopefully get around price issues.  For 2D artists there are many ways to have prints made of your work.  ImageKind (as mentioned it my last post) is a wonderful site.  You can sell your work directly to buyers from here and set your own markups.  You can also purchase your own work (without markups) on a wide range of supports.  Most craft/hobby stores or printers (like Kinkos) can do prints.  Just make sure your photographs are good- taken in natural light and colors match the original.   

Another great tool for artists and crafters, especially one’s involved in shows, is Square.  It allows you to accept credit card payments anywhere with your iPhone, iPad or Android phone.  It is a small slider that plugs into your headphone output.  Payments are sent to any bank account you wish to link square to.

That’s all I have for today’s post.  I’ll be posting other craft show goodies over the next couple weeks.  In the meantime, enjoy…


Above: Art blocks

Saturday, January 21, 2012

Stop Procrastinating!

It’s the same every year.  We make our New Year’s resolutions and within two weeks we’ve already lost sight of our goals.  It’s January 21, so by now we are already making excuses as to why we can go to the gym, how we don’t have time to finish reading that book, or convincing ourselves that we can live with this job.  I truly want to make this year count.  I have my goals and am determined to make them happen. 

I’ve been searching around the internet and reflecting on my own experiences to find some simple ways to stop that cycle of procrastination. 

1.     Break it down.  Instead of telling yourself “I am going to write a book” break it down to “I want to write chapter 1”.  Which brings us to our next step…

2.     Reasonable deadlines.  I cannot stress the word reasonable enough.  I have found myself with long lists of to-do for a day that would take even the roadrunner 3 days to finish.   Take your final goal; break it down into small steps to give yourself time to do them.  If losing weight is on your resolution list, stress won’t help. 

3.     New environment.  This can be a fun one.  If you feel uninspired change what you’re looking at.  I am always moving furniture and adding decorations to my studio.  You’ll feel much better with a clean, fresh area in which to reach that final goal.

4.     Tell your friends.  Tell others what you’re striving for.  When you see them they are bound to ask how it’s going.  These reminders will help keep you on track.

I have a lot of goals for the year.  My main focus will be on my art and getting it “out there”.  I have recently moved from New Jersey to North Carolina so I definitely have step 3 covered.  Being in a new city and meeting new people has already inspired me to work harder. 

So far my progress has been great.  I finally listed some of my art on Etsy.  I’ve been working on another site, ImageKind, which takes photos off my art and makes prints to sell.  I’m hoping this will be a great tool for me.  My next step is to focus on craft shows and art galleries.  This could take a while- designing my display booth, choosing products, sending applications etc. 

I will keep you posted as I finish each step.  Now since I told you my goals, what are yours?